How to Create Customizable Product for Your Shopify Store Product
Here's a simple breakdown of the customizable product within the ScalePrint Designer & Variants admin panel and your Shopify store:
-
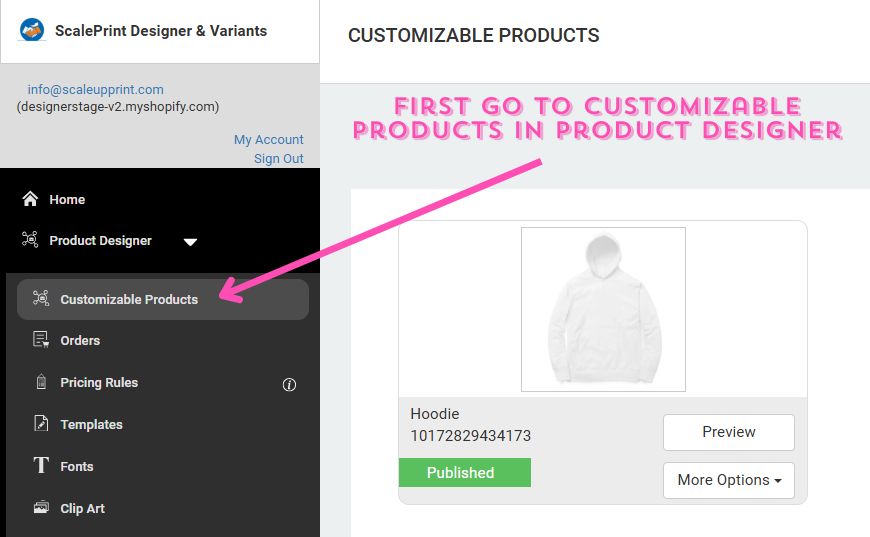
Go to Customizable Products
Go to Customizable Products into Product Designer.
-
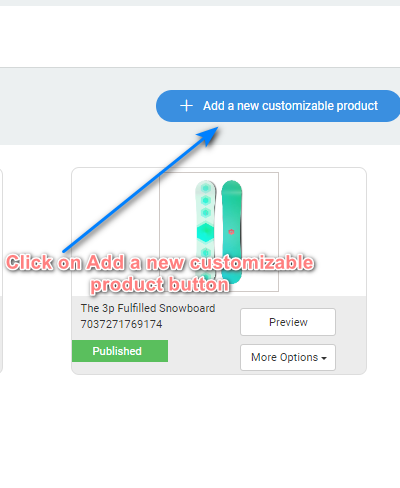
Add A New Customization
Click on Add a new customization button which is in right upper side then it will open a new window of all of your shopify products.
-
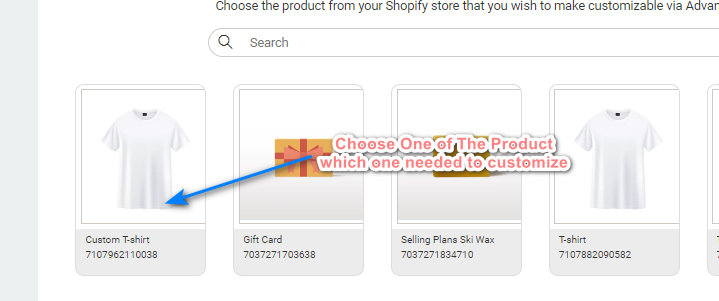
Choose Product
Choose one of the product which needed to be customize from your product list.
-
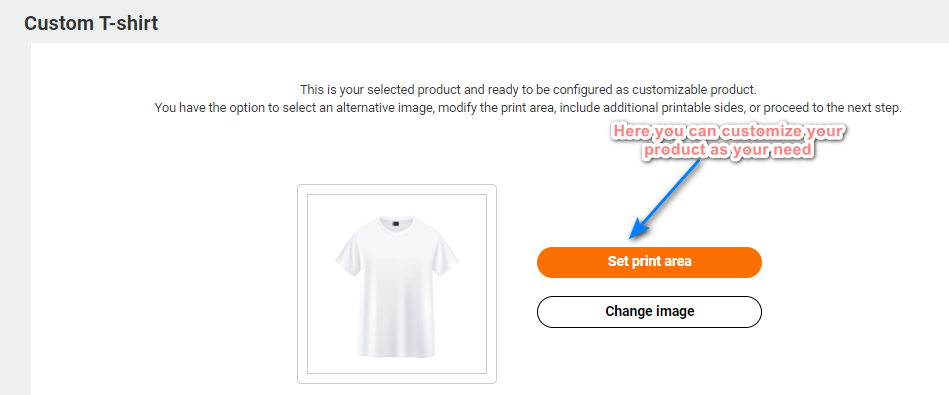
Customize Your Product
After select your product it will open customizable options. Here you can customize your product as your needs.
-
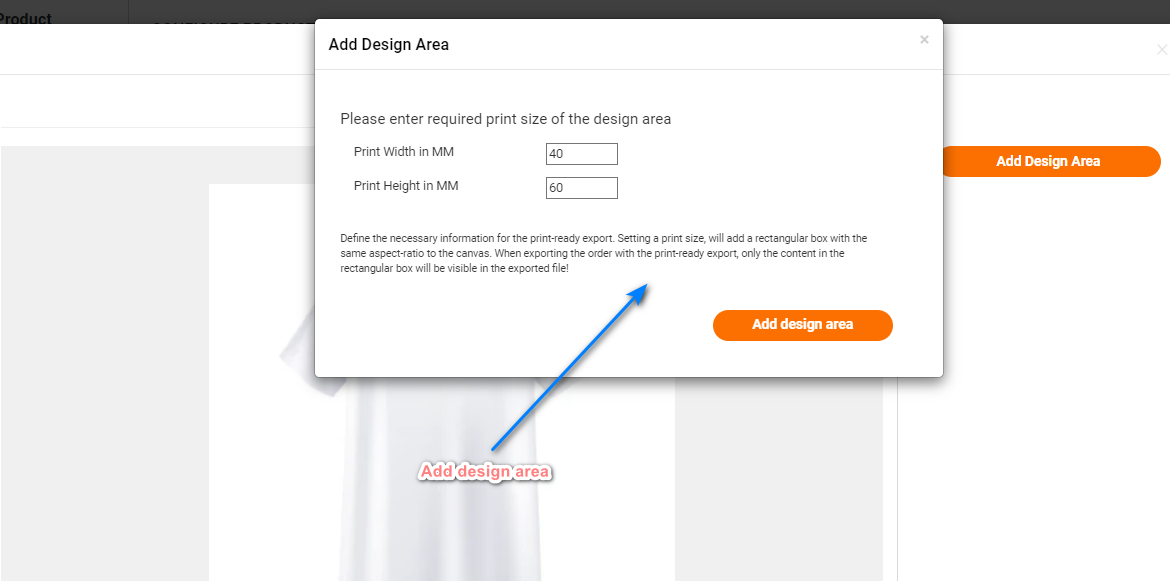
Add Design Area
Now choose "Set print area" option then it will open a pop-up option where you can provide your design by adjusting width or height of design.
-
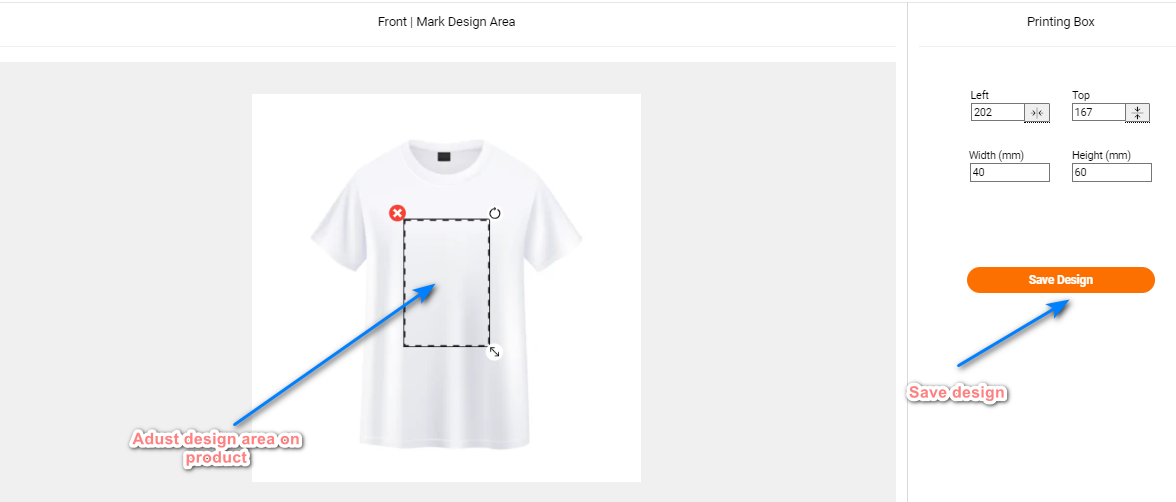
More Customize
In the last you can adjust design area on product then just click on "save" button for save to your design.
-
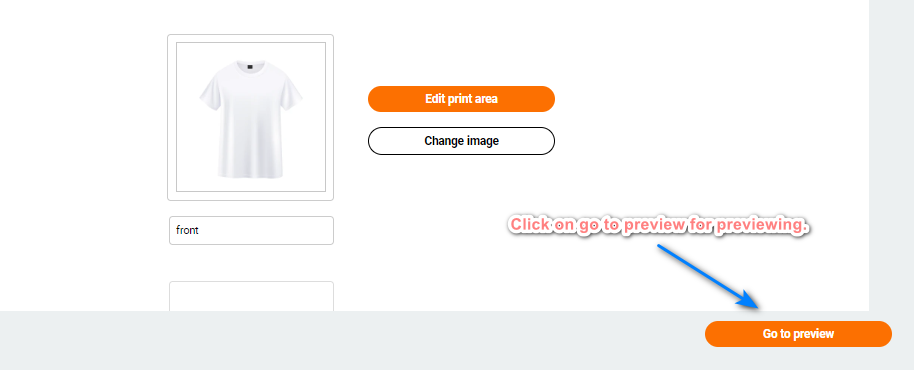
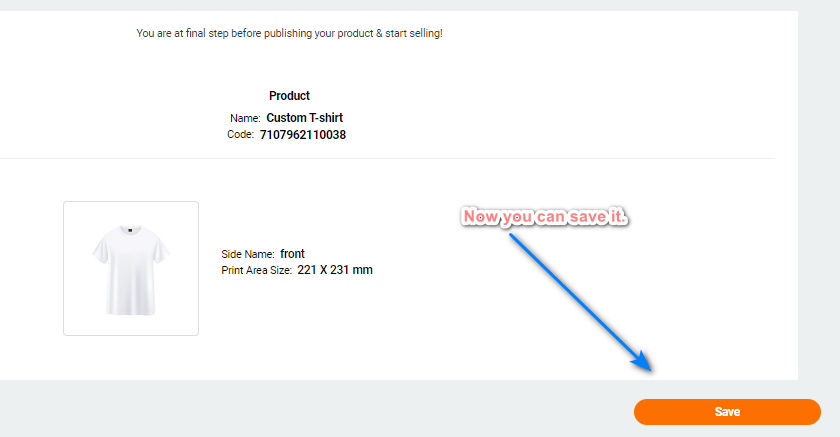
Preview and Save
After saving it you can now see a "Go to Preview" option here you can preview it then now a "save" button visible click on it and save your design.
-
Go on Publish Page
After clicking on save you can see a publish page click on publish button then it will open a popup which will show your product and ask again for publish click on that.

-
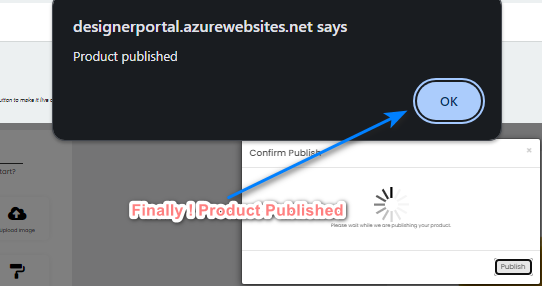
Finally Published
Finally you can a last pop up which is showing that "Product Published" then click on that "OK" . Product is published now.