How to Add Conditional Logic to Show/Hide Custom Product Options For Shopify Product
Here are the steps to add a conditional logic to show/hide in ScalePrint Designer & Variants for customizable products:
-
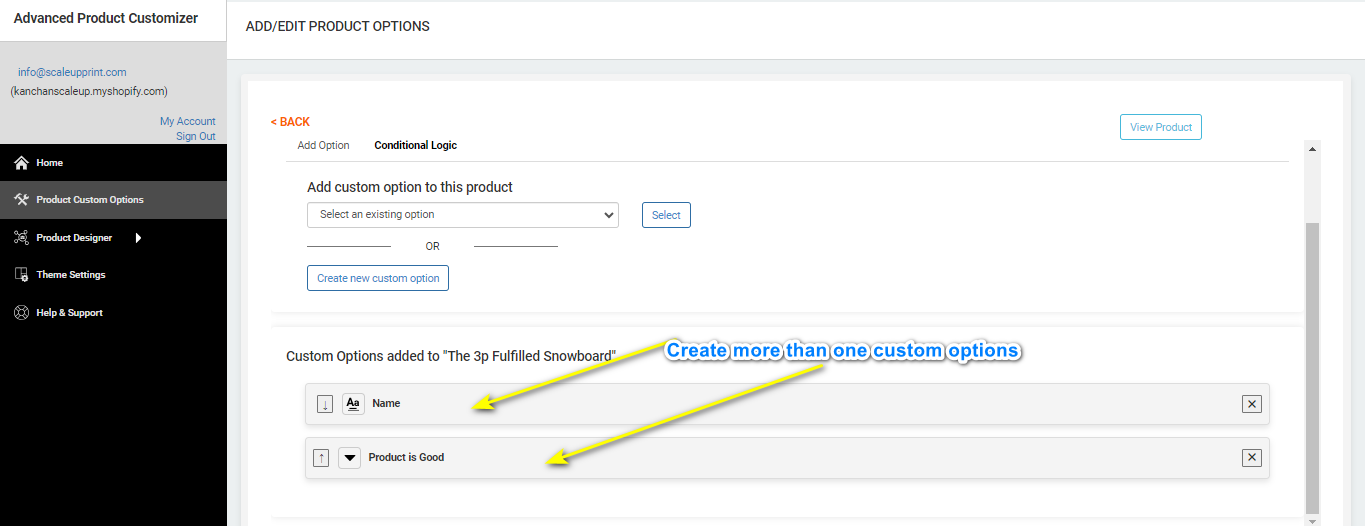
Create Custom Options
Create custom options tailored to your needs. For example, you might create a "Name" field for single-line text input and a dropdown menu titled "Product is Good."
-
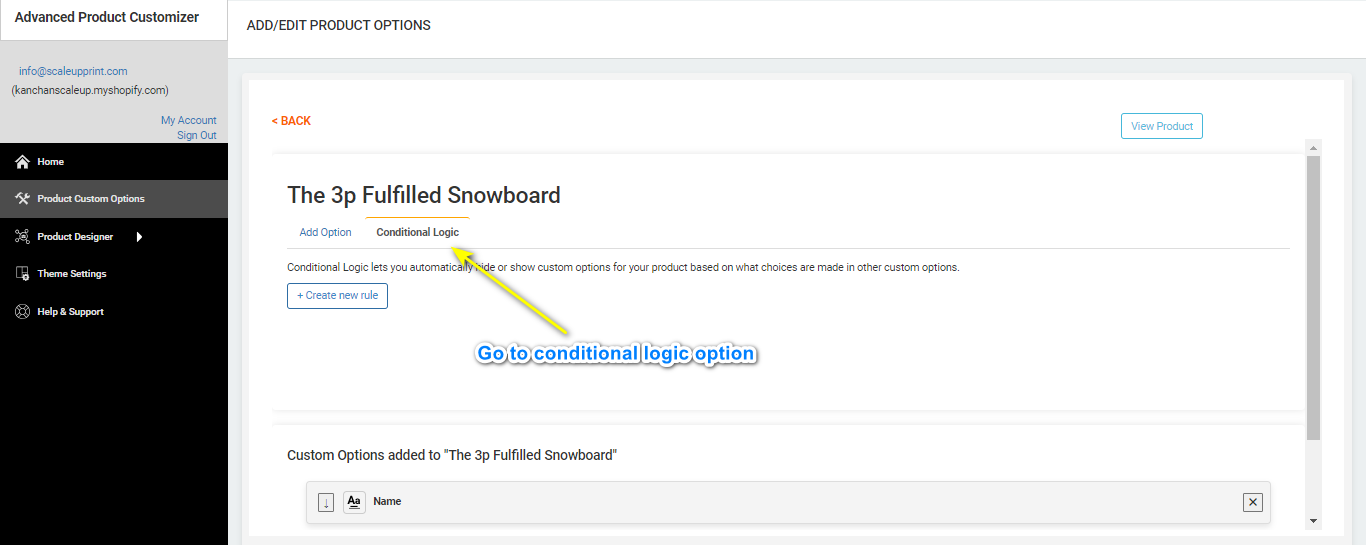
Navigate to Conditional Logic
Locate and click on the "Conditional Logic" button to proceed with setting up rules based on your custom options.
-
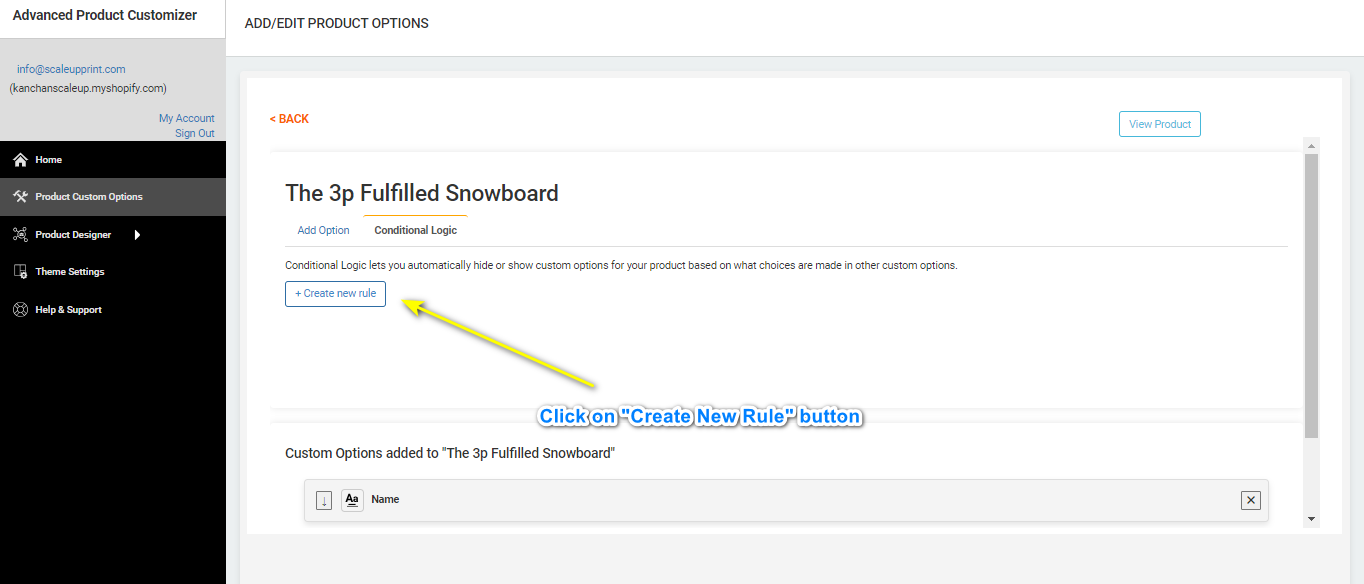
Create a New Rule
Within the Conditional Logic interface, find and select the "Create New Rule" button. This action will prompt a pop-up where you can define your conditional logic.
-
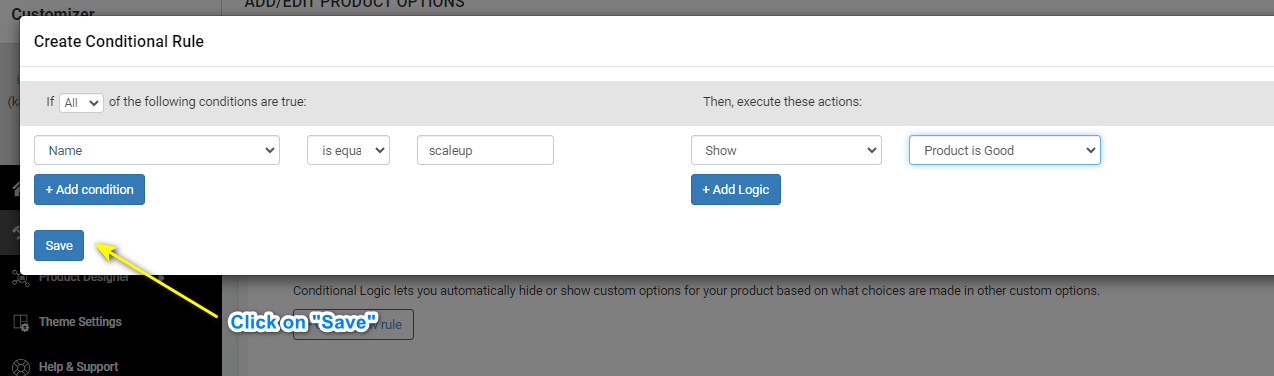
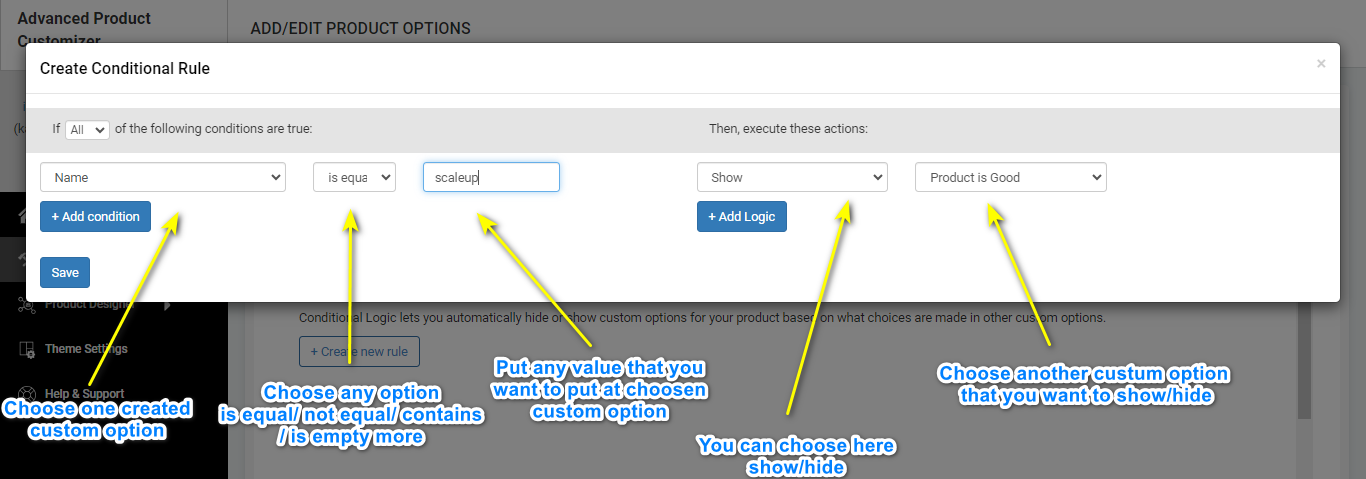
Define Conditional Logic
In the pop-up, you'll find options to craft your conditional logic. First, designate the custom product you're referring to. Next, specify the condition, such as "is equal to," and input the corresponding value for your custom option. Then, decide whether you want to show or hide content based on this condition. Finally, choose the second custom option that will be affected by the logic.
-
Save Your Conditional Logic
After setting up your conditional logic, ensure to save your changes. Click on the save button to finalize and implement the logic you've defined.